First things first the car was lifted onto axle stands so everything can be got at nice and easy.
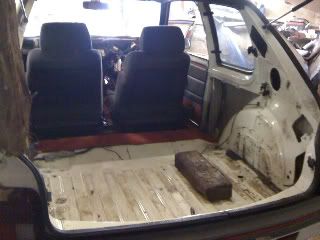
Ok so the major things came off quickly and to try and avoid any unecessary damage happening. So bonnet and front bumper were first to go. Along with the rear carpets and plastic panels. These of course are well easy and took no time at all.
In doing this it reveals the 6 bolts to start removing the rear beam.
From under the car the first item to be cut was gone at - the rear brake lines were cut as they wont be used and we all know how bloody difficult they are to undo from their unions.
So once free from brake lines the 6 supporting nuts were removed from the car and the rear beam dropped to the floor and lifted away.
SURPRISES!!!!
1. Rear beam has grease nipples tapped into it suggesting a recent rebuild. The beam was excellent on car so am thinking it was done not so long a go. Ill get hold of the previous owner and check this out.
2. Rear Beam has Bilstein struts fitted which look also pretty new.
3. Solid Aluminium bush kit fitted to the rear beam.
All in all these items will help fund the build by being sold once cleaned up and details confirmed.
Moving to the front...........
Easy things removed so not to damage - lights / light adjusters / radiator and cowling.
Next we set to disconnecting the electrics / speedo drive / gear links / clutch cable etc and exhaust. Not too much of a problem here just really really dirty and oily from the 20 odd years this car has been on the road.
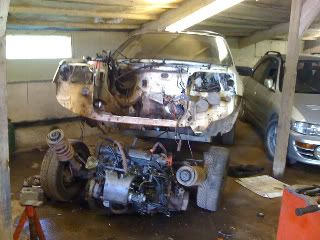
Eventually we got to removing the subframe from the chassis legs (4 bolts were worrying loose so check those bolts peoples!!!). The engine and box were propped using a large jack and wood whist the engine mount (upper only) and the gear box mount were undone.
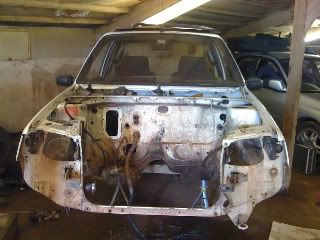
By lowering the jack and a little muscle support the engine and subframe complete with front suspension was lowered to the groud and pulled away from the car.
Only one surprise at the front - Front struts are also bilstein units
Moving inside..........
Gaining access to the inside was aided by removing the doors (this also protects them by being away from the shed roof support beam which is annoying close to the car). So seats were removed, along with roof lining and then the really annoying task of the dash compononets. How is it that cheap plastic and semi-mangled pozi head screws can waste so much time???? This could have been made a lot easier by not worrying about the dash and ripping it out with brute force but we want to sell as much as possible in this project. The same was true with the loom - nothing was cut but everything unclipped instead. Nothing really special to report in this as its all basically nuts and bolts.....
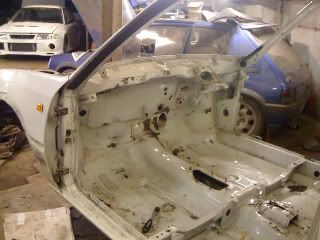
Finally the sunroof was started to be removed......obviously we knew the car had a sunroof, but it wasnt until we took it off that we realised the car used to be NON sunroof someone cut a big hole in her!
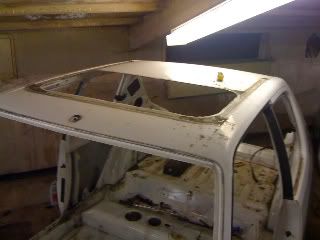
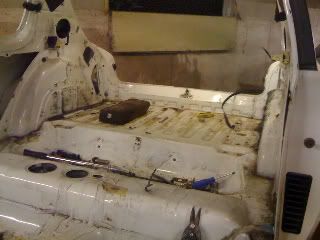
Overall, the car looks great with no rust anywhere. The floor is slightly bent in places due to someone jacking in the wrong place, no hidden weld patches and no signs of a shunt.
All in all we are really pleased.
We know this is the easy bit and also makes for a boring write up / read!
No comments:
Post a Comment